
SURROUND
Surround setup on macOS
- 01
Connect a Mac to an HDMI supported device such as an AV receiver. If your Mac has no HDMI port, an HDMI adapter is needed (see the links below). It is highly recommended to use Apple’s official/certified products especially for hi-res and surround sound playback.
The following adapters also allow up to 7.1ch surround playback on iPhone and iPad (in Safari).
- 02
Go to [Applications] > [Utilities] > [Audio MIDI Setup] and open the [Audio Device] setting window. (If the Audio Device window is hidden, go to [Window] in the menu bar at the top of the screen and click [Show Audio Device].)
- 03
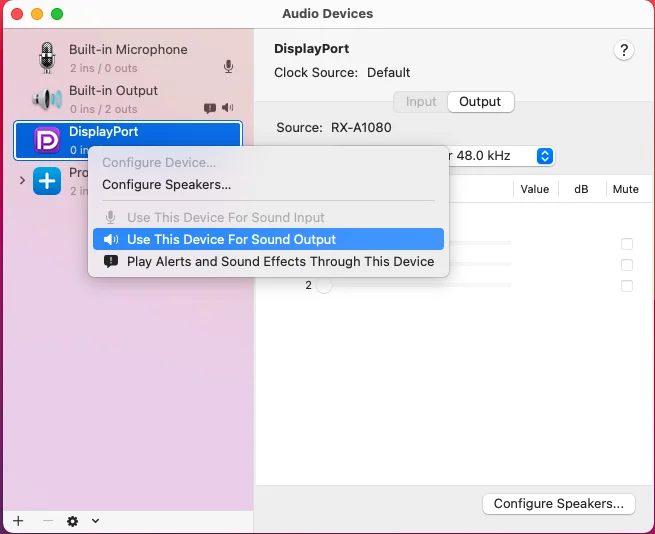
Make sure that the device from (1) is shown on the left side. Right-click on the device and select [Use This Device for Sound Output].
- 04
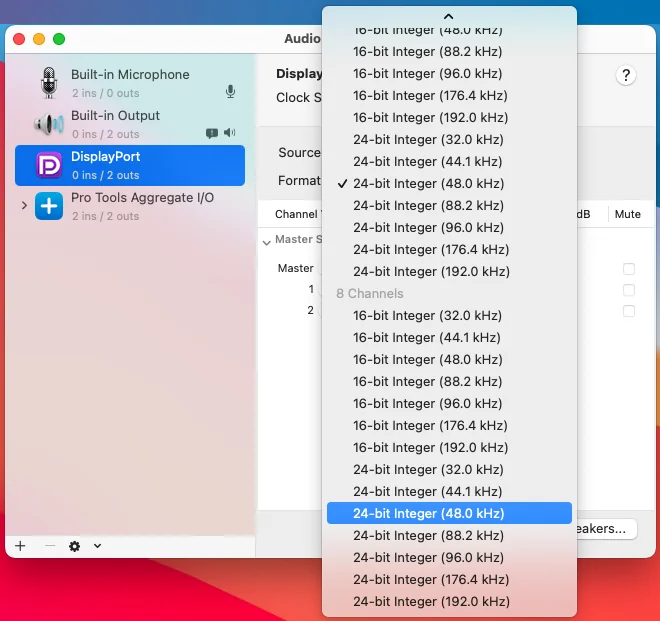
Under [Format] in the [Output] tab, select the settings that best match the output device and the content format. ・Channel Number: Select the number of speakers connected to your output device. ・Bit Depth: Select the largest possible bit depth. ・Sample Rate: Select the identical sample rate to the content.
- ※Note: HDMI ports on Apple Silicon (M1) Macs only support 48kHz output (April 2023).
- 05
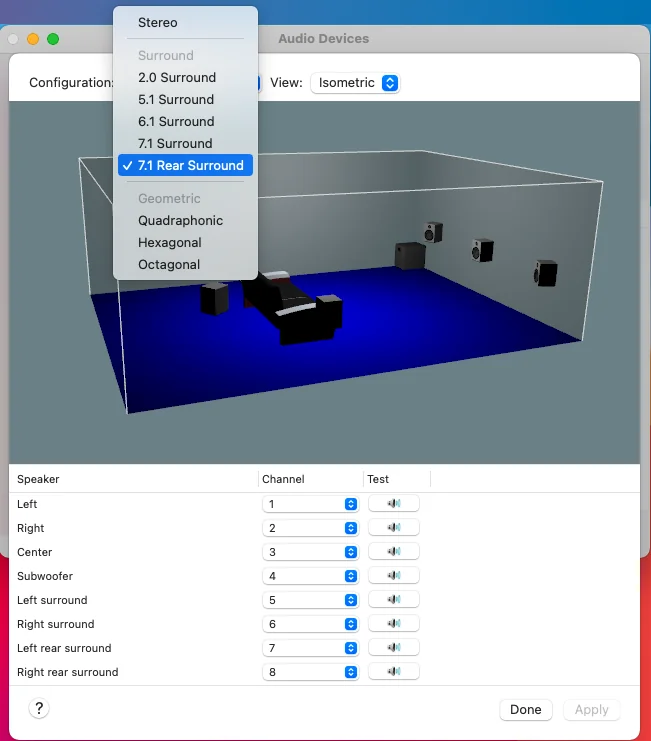
Click [Configure Speakers…] on the bottom right. From the [Configuration] pull-down menu, select a speaker configuration that best matches your system, such as stereo or 5.1 surround.
- ※If your system is based on ITU 7.1ch, select 7.1 Rear Surround instead of 7.1 Surround.
- 06
Make sure that the channel number shown in the bottom half of the window is in the ascending order from 1~8. If the channel number is unselected or not ordered correctly, set the right channel from the pull-down menu.
- 07
Click [Apply] and complete the setup.
- 08
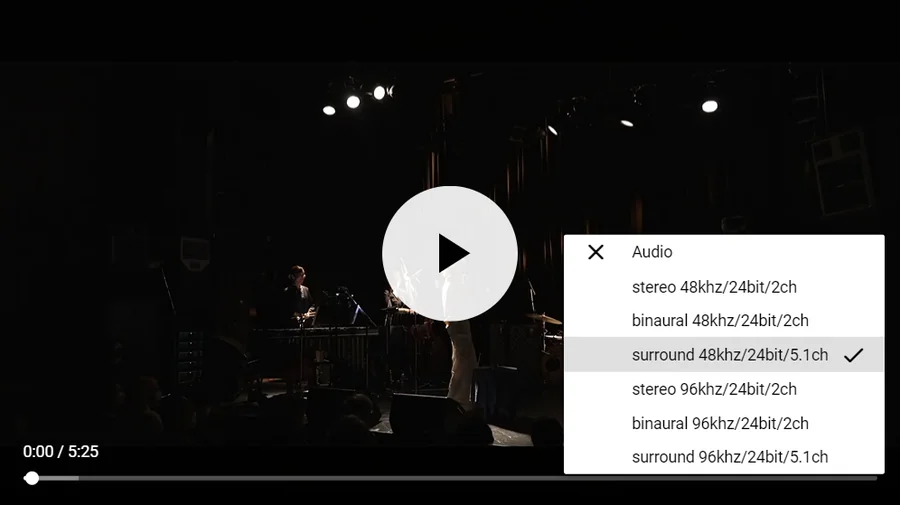
On the player page, click on the [♪] symbol in order to select a surround audio stream and enjoy the content.
Surround / 5.1ch / 7.1ch surround
- Windows 10
- macOS