
SURROUND
Auro-3D setup on Windows 11
- 01
Connect a PC to an HDMI supported AV receiver. On the AV receiver, select the Auro-3D mode.
- ※How to operate the receiver differs by model. Please refer to its owner’s manual.
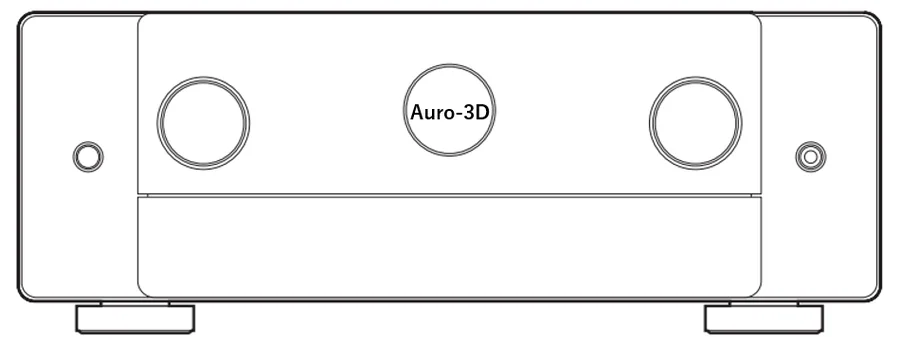
- 02
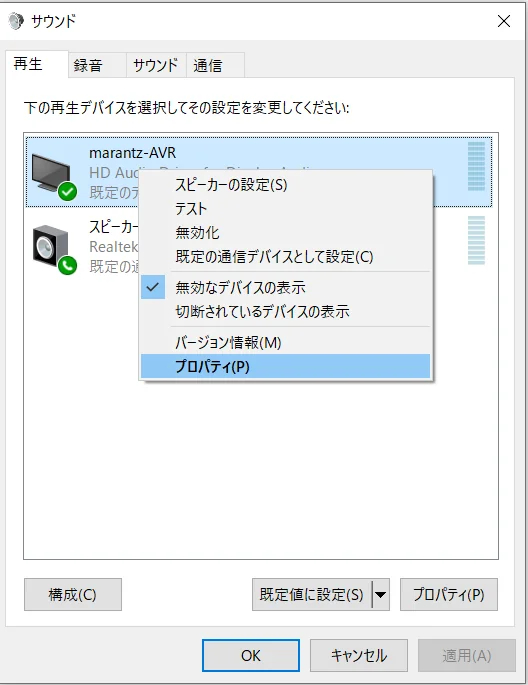
From the [Start] button, go to [All apps] – [Windows Tools] – [Control Panel] and open [Sound] settings. Right-click on the AV receiver from (1) and select [Set as Default Device].
- 03
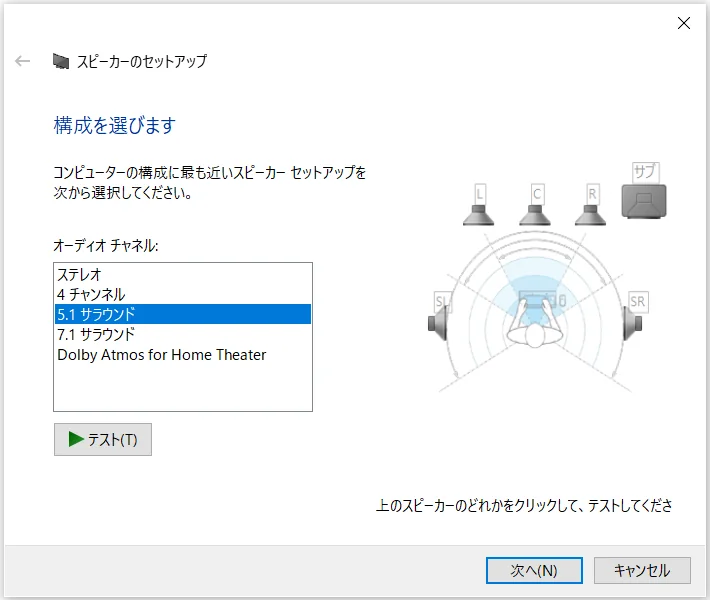
Click on [Configure] at the bottom left. From [Audio channels], select “5.1 Surround” for Auro 9.1ch content, or “7.1 Surround” for Auro 11.1ch or 13.1ch content. Click [Next] and complete the speaker configuration.
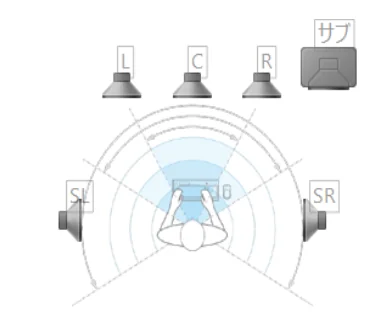
- ※If two “5.1 Surround” configurations are shown, select the one shown in the image below.
- 04
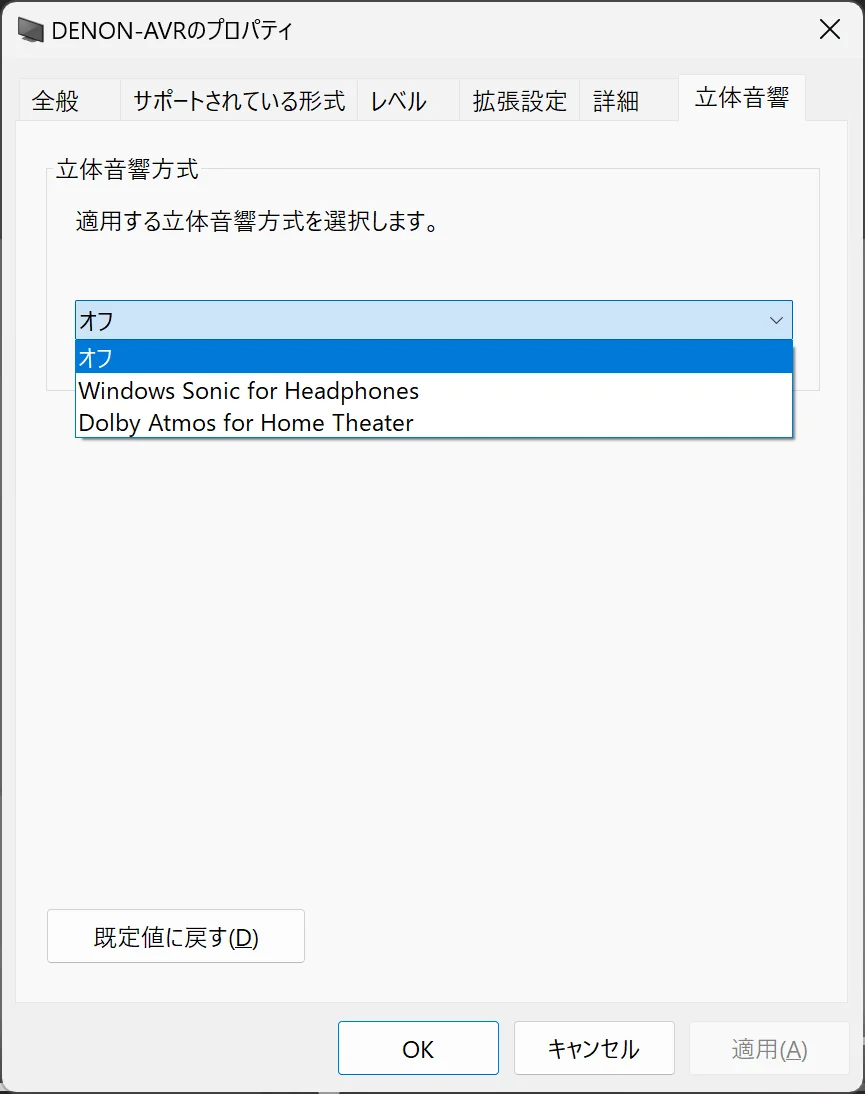
With the device from (2) selected, click [Properties] at the bottom right. Set the [Spatial sound] tab to “Off”.
- 05
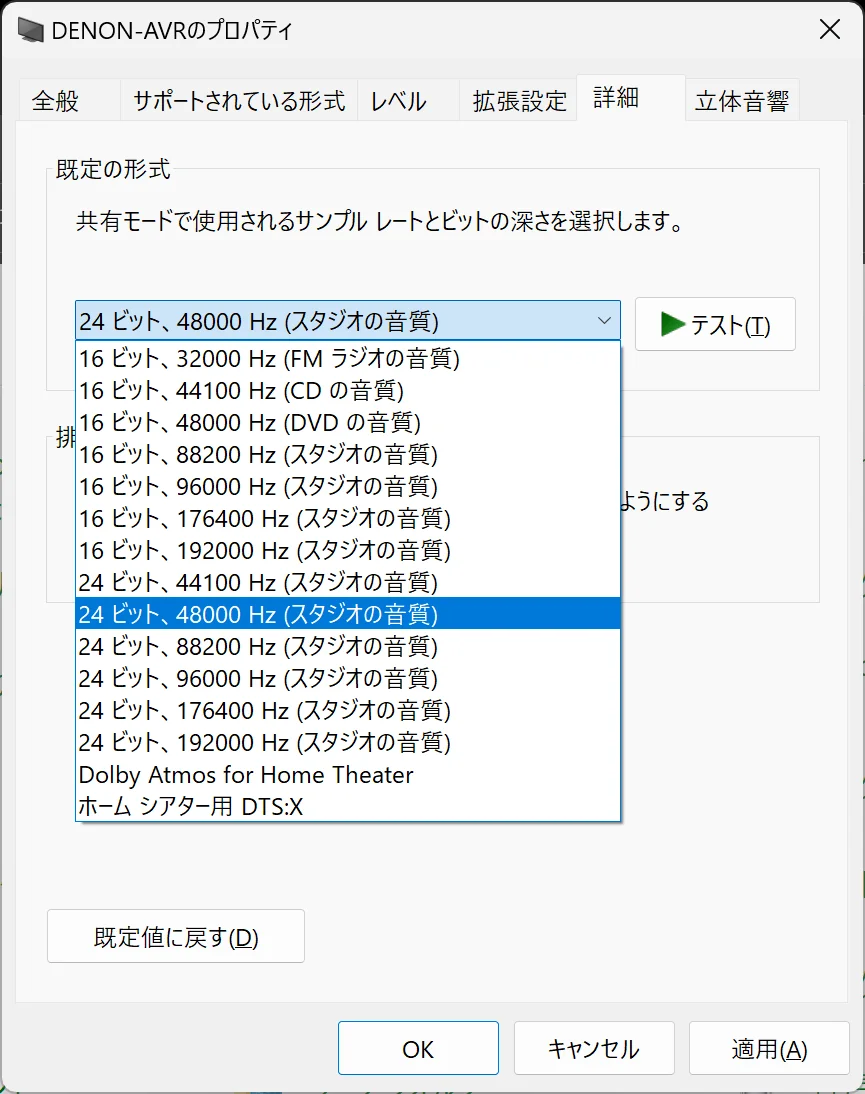
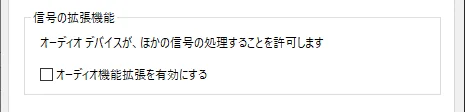
Under [Default Format] in the [Advanced] tab, select the sample rate that matches the content (and the largest bit depth). For example, for 48kHz streams, select [24 bit, 48000 Hz] and click [OK]. If the [Advanced] tab shows “Enable audio enhancements”, turn it off.
- 06
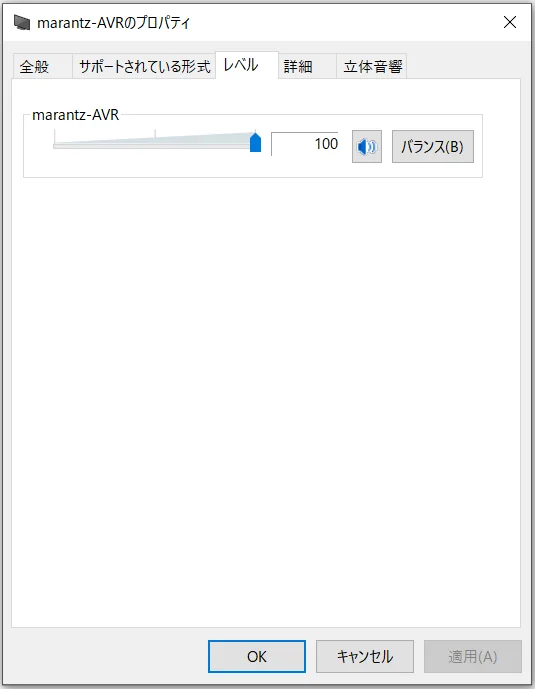
Set the level to 100 in the [Levels] tab.
- 07
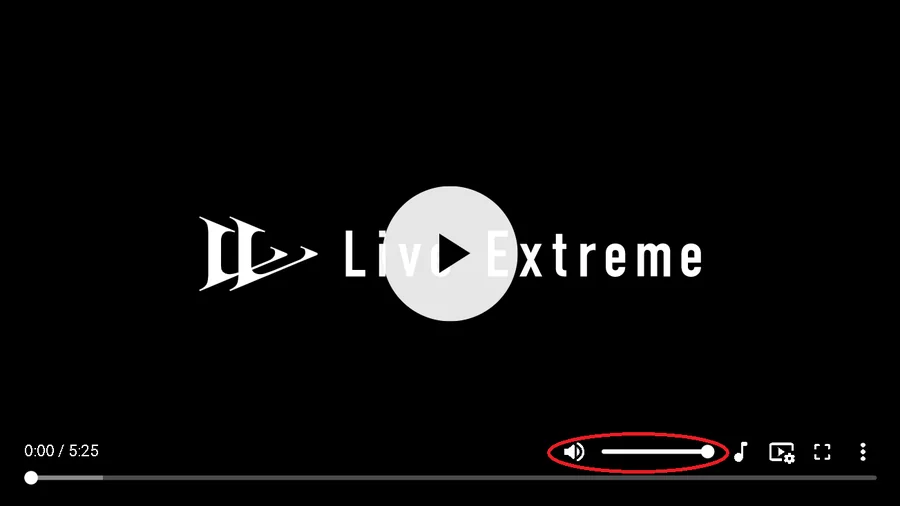
Set the player volume to the maximum level and enjoy the content.
- ※Adjust the volume on the AV receiver.
- 08
Check the input signal with the INFO button on the remote or on the AV receiver, and make sure that Auro-3D is recognized correctly.
- ※The images below are examples from DENON and Marantz products. “ACTIVE SPEAKERS” differs depending on your speaker configuration.
- ※How to operate the receiver differs by model. Please refer to its owner’s manual.
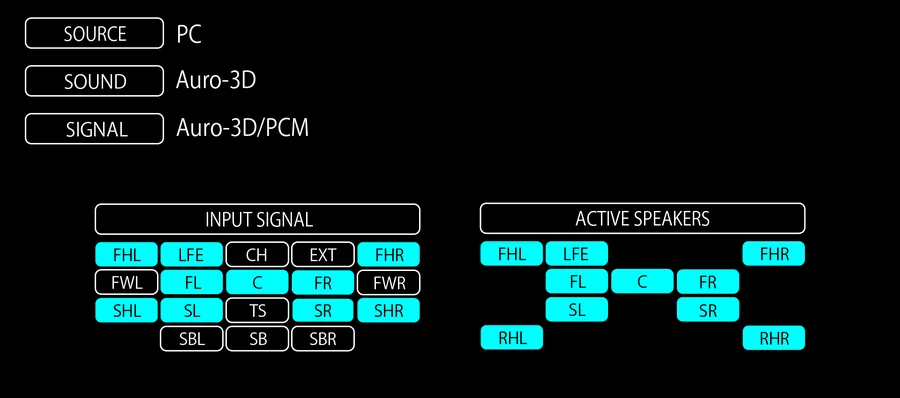
Auro 9.1ch 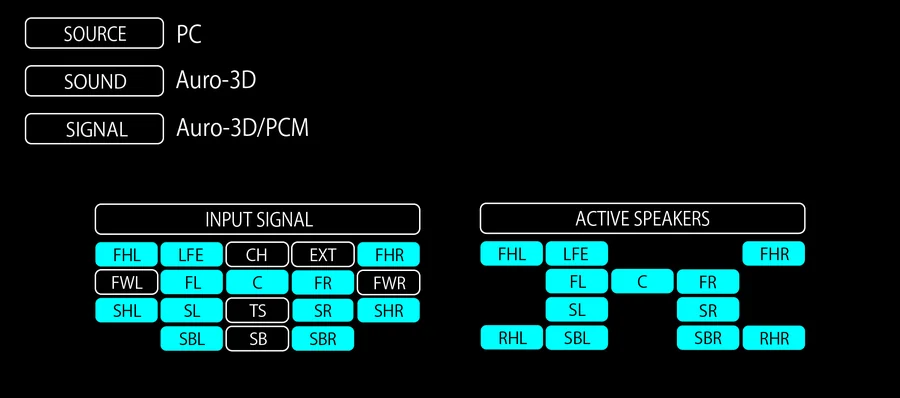
Auro 11.1ch 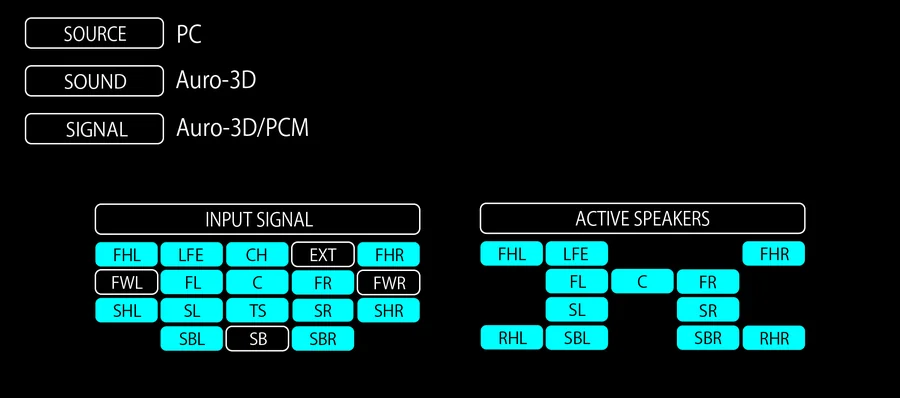
Auro 13.1ch
Surround / Auro-3D
- Windows 10
- Windows 11
- macOS